Assembler 0
 B
BAbout this program
Assembler 0 – A 3-D-printable test-bed for partial self-replication
Created by jackvial • Released under MIT License
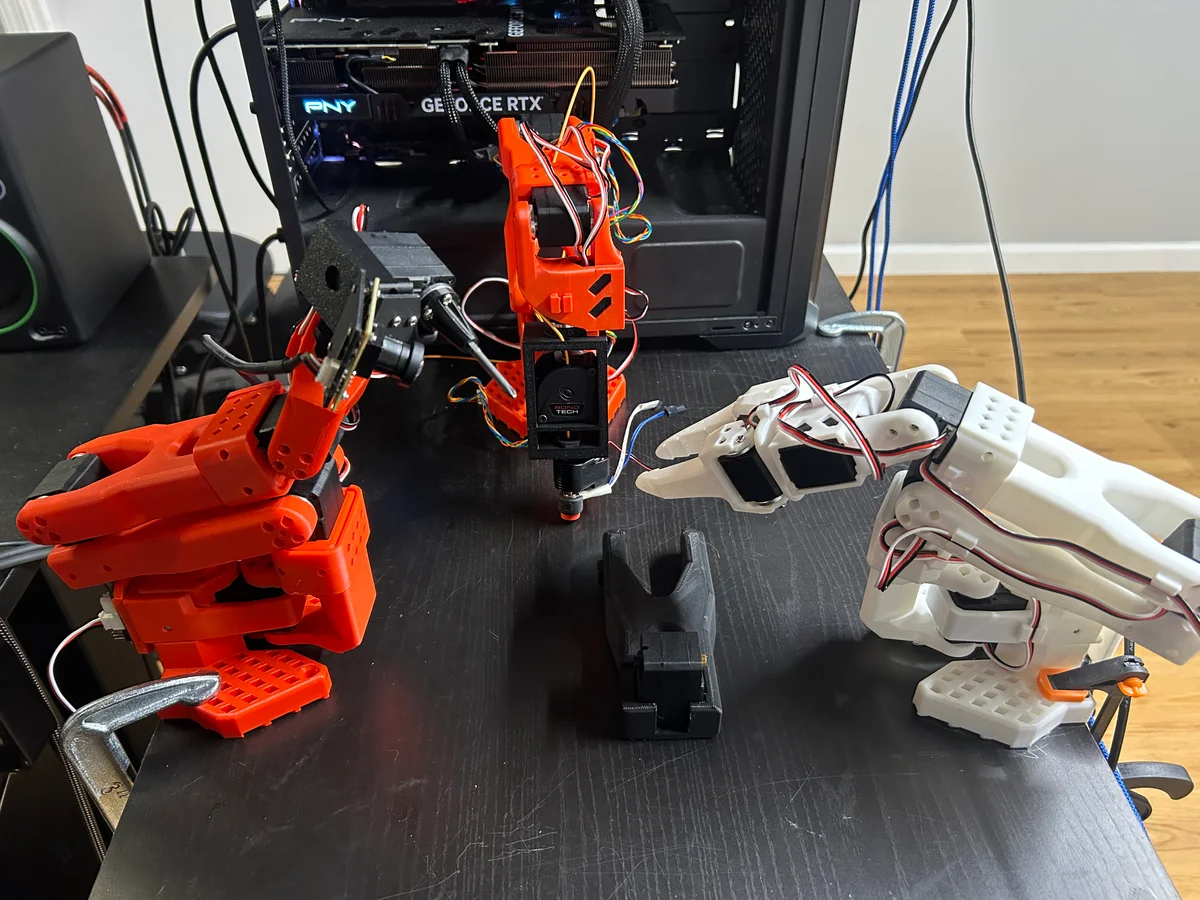
Assembler 0 is an open, low-cost robot whose long-term goal is to re-print its own plastic parts while still relying on externally supplied motors, boards, and power.
The first milestone is deliberately modest: demonstrate partial material closure — i.e. show that the machine can manufacture some of its own structure — while keeping the electronics and actuation paths open for later closure.
What the robot is
- A modular three-arm cell built entirely from printable SO101 limbs:
– Gripper arm for general pick-and-place
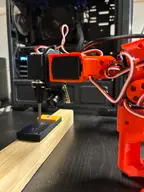
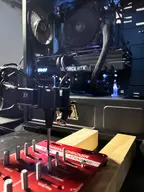
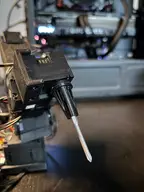
– Screwdriver arm (6-DOF) for fastening operations
– 3-D-printer arm (in development) that will eventually extrude the very joints and links it is made of - Leader / follower tele-operation lets you bimanually coordinate two arms in real time; every motion is logged as an imitation-learning episode.
- MuJoCo simulation stack (Linux + NVIDIA GPU) mirrors the hardware and runs in the browser at
localhost:1337, so you can prototype policies before printing.
What makes it distinctive
- Self-replication as a design driver, not a marketing after-thought.
The kinematics, fastener layout, and even the cable routes are chosen so that the printed portions can be unscrewed and re-printed by the same machine. - Complete data pipeline in one repo.
Calibration → tele-operation → dataset recording → policy training (via LeRobot) → hardware deployment are all single-command scripts. - Curated imitation dataset already shipped.
"Screwdriver 391" bundles 391 tele-operated screw-driving episodes — enough to bootstrap a baseline policy without collecting your own data.
Quick start for builders
Clone the repo → follow calibration.md → run teleoperate.py (see README). Arms connect on /dev/ttyACM0 & /dev/ttyACM1, camera on /dev/video4. Every STL, BOM, and wiring diagram is in /hardware; the MuJoCo XML is kept in lock-step so that sim weights transfer to the real arms with no re-tuning.
Also see: SO-101 Teleop Arm — the SO101 arm this builds on.
If you are looking for a hackable, documented, and simulation-backed platform to experiment with machines that make machines, Assembler 0 is the place to start.
Printing
Assembler 0 is an add-on, not a standalone build. This Print All set contains only the assembler-specific parts (screwdriver, camera mount, gripper, leader handle/trigger). To build a working arm you must also print the SO-101 Teleop Arm — Assembler 0 mounts on top of that SO101 base. Without the SO-101 arm parts, this set alone will not build a robot.
What this set prints
Mapped 1:1 to the upstream assembler0-hardware/stl/ folder:
| Part | Qty | Arm | Notes |
|---|---|---|---|
| so101_screwdriver_bit_holder.stl | 1 | SO101 screwdriver follower | Magnetic bit holder; pause print to embed 4 magnets |
| Wrist_Roll_Follower_SO101.stl | 1 | SO101 screwdriver follower | Wrist roll, claw removed; print with supports + 5mm brim |
| so101_hex_nut_camera_mount.stl | 1 | SO101 screwdriver follower | Camera mount |
| Wrist_Roll_SO101_leader.stl | 1 | SO101 screwdriver leader | Leader wrist roll |
| Handle_SO101.stl | 1 | SO101 screwdriver leader | Leader handle |
| Trigger_SO101.stl | 1 | SO101 screwdriver leader | Leader trigger |
| screwdriver_servo_holder_with_camera_mount_v1.2.stl | 1 | Koch screwdriver arm | Servo holder + camera mount; print with koch bit holder, add slicer pause for magnets |
All parts print x1. Several parts (bit holders, camera mounts) need a slicer pause point to embed neodymium magnets — see the upstream hardware README for magnet counts and positions.
Removed from the previous list
Seven entries were MuJoCo simulation meshes from the assembler0-simulator package (not printable hardware): base_link, elbow-to-wrist-motor-reference, gripper-moving-part-dumb, gripper-static-motor, shoulder-to-elbow-motor, koch_screwdriver_chuck, screwdriver_bit, plus the XL330_motor servo-reference model (the XL330 is a purchased Dynamixel servo, not a printed part). These were sim/reference geometry, so printing them wasted filament without contributing structure.
🖨 Print Files (7)
Handle_SO101.stl
screwdriver_servo_holder_with_camera_mount_v1.2.stl
so101_screwdriver_bit_holder.stl
Wrist_Roll_Follower_SO101.stl
Wrist_Roll_SO101_leader.stl
so101_hex_nut_camera_mount.stl
Required Hardware
Bill of Materials
Assembler 0 builds on the SO-ARM100/SO101 leader-follower bimanual platform from The Robot Studio, plus assembler0-specific additions (vision + magnetic gripper). Cost figures are USD as of 2026-05; servo links are mostly Alibaba where Amazon is unavailable.
SO-ARM100 Bimanual Base ($229.88)
| Part | Qty | Unit Cost | Total | Source |
|---|---|---|---|---|
| Feetech STS3215 Servo 7.4V, 1/345 gear (C001) | 7 | $13.89 | $97.23 | Alibaba |
| Feetech STS3215 Servo 7.4V, 1/191 gear (C044) | 2 | $13.89 | $27.78 | Alibaba |
| Feetech STS3215 Servo 7.4V, 1/147 gear (C046) | 3 | $13.89 | $41.67 | Alibaba |
| Waveshare Motor Control Board | 2 | $10.60 | $21.20 | Amazon |
| USB-C Cable (2-pack) | 1 | $7.00 | $7.00 | Amazon |
| 5V/12V Power Supply (5.5×2.1mm) | 2 | $10.00 | $20.00 | Amazon |
| Table Clamp (4pc) | 1 | $9.00 | $9.00 | Amazon |
| Precision Phillips Screwdriver Set | 1 | $6.00 | $6.00 | Amazon |
SO-ARM100 subtotal: $229.88